

Applying and Advancing a Workflow
Learn how to add a workflow to a page and advance it to completion.
Once you have installed Content Flow and created a workflow, you'll want to start using workflows to manage page publishing and routing. This guide explains how to apply a workflow to an individual page and advance it through to completion.
View an Existing Page or Create a New Page
Navigate to an existing page. Or, create a page using the Confluence "Create" button in the Confluence Header.
Note the Page Status
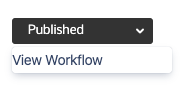
Near the page Title, either above or below it depending on your page design, note the status indicator button that says "Draft" (or "Published"). This is the Content Flow Workflow Status toolbar. It displays the current status of the page and is where you click in order to view, apply, or reject a workflow, among other tasks.
If you are using Brikit Theme Press, and you do not see the Workflow Status toolbar, you may need to make visible the page metadata in your page design.
If you prefer not to use the Workflow Status toolbar in the page metadata section, then you can also use the Workflow Status Macro anywhere on the page.
Apply a Workflow
Click the Workflow Status toolbar and select "Apply Workflow" This opens the Workflow viewer and presents a list of the available workflows in this space. Select the workflow that you want applied and click "Apply" (in the upper right corner of the workflow). The page will refresh and the workflow is applied.
If this is a Publishing Workflow, from this point forward any changes to the page will only be visible to workflow participants.
Add Content
Edit the page: add page content, such as a paragraph or image or table, and save it. Note that the status indicator now says "Draft". This means that the change made to this page is not yet visible to non-workflow participants.
View the Workflow
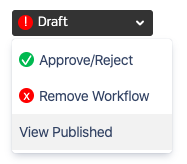
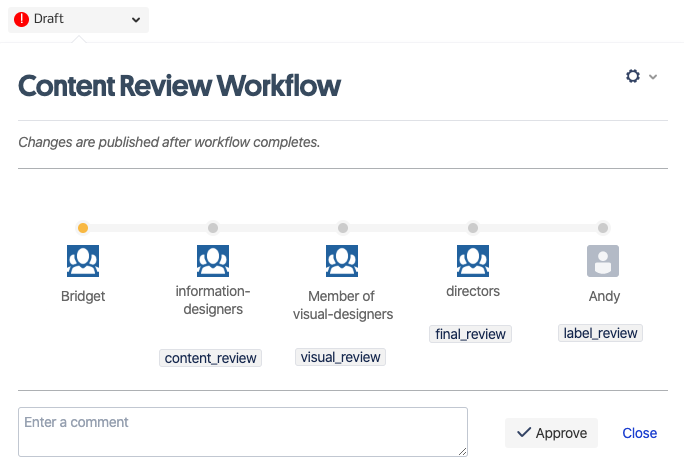
Click the Workflow Status toolbar and select "Approve/Reject". Inside the Workflow viewer, note the steps of the workflow. Each step corresponds to a reviewer and a label.
The first step of every workflow is always assigned to the Editor.
Advance the Step
To advance the workflow to the next step, leave an optional comment and then click "Approve". Upon approval, all of the reviewers in the next step will be notified by email and via the in-Confluence notifications.
If need be, you may also "Return" a step and send it back to the previous reviewer. Your comment here can help explain why the step was not approved.
Advancing a step applies the label for that step and removes (if present) the label of the previous step. The use of labels can be helpful for tracking all pages in a workflow.
The steps continue in this fashion until the last step is approved.
Complete the Workflow
When the last step is approved, the page is published and the workflow is completed. If this was a Publishing Workflow, the changes made during the workflow are now visible to all with page view permissions.
If a workflow is set to Automatic, then you do not need to select and apply a workflow (as in Step 3 above). Instead, the automatic workflow will be applied to the page immediately upon page creation or modification. There can be only one automatic workflow for a space.
To remove an automatic workflow and apply a different workflow, follow these steps:
1) Click the Workflow Status toolbar and click "Remove Workflow"
2) This will publish the page and any changes currently in draft.
3) Click the Workflow Status toolbar and click "Apply Workflow"
4) Select the workflow and click "Apply"


